
Gain Before Fader: What Signal Level Really Means on a Live Stage
Hannah Doyle
6 min read
Hannah Doyle explains gain structure in plain words: why the first control in the audio chain decides how clean a mix sounds, and how to set it before a live show.
Why this term causes so much confusion
Gain structure is one of those phrases that gets used in every production meeting and explained in almost none. Put simply, it describes how loud the signal is at each stage between a microphone and the loudspeakers, and whether each stage is given a sensible level to work with. When people say a rig sounds noisy, or harsh, or oddly thin, the cause is often a level set badly at the very start of the chain rather than anything wrong with the equipment itself.
I hear the word used loosely, as if gain and volume were the same thing. They are not. Volume is what the audience hears at the end. Gain is how much a channel is amplified on the way in, before the fader, the effects and the main outputs ever see it. Getting that first step right makes everything after it easier, which is why I start every sound check there.
Gain and fader are different jobs
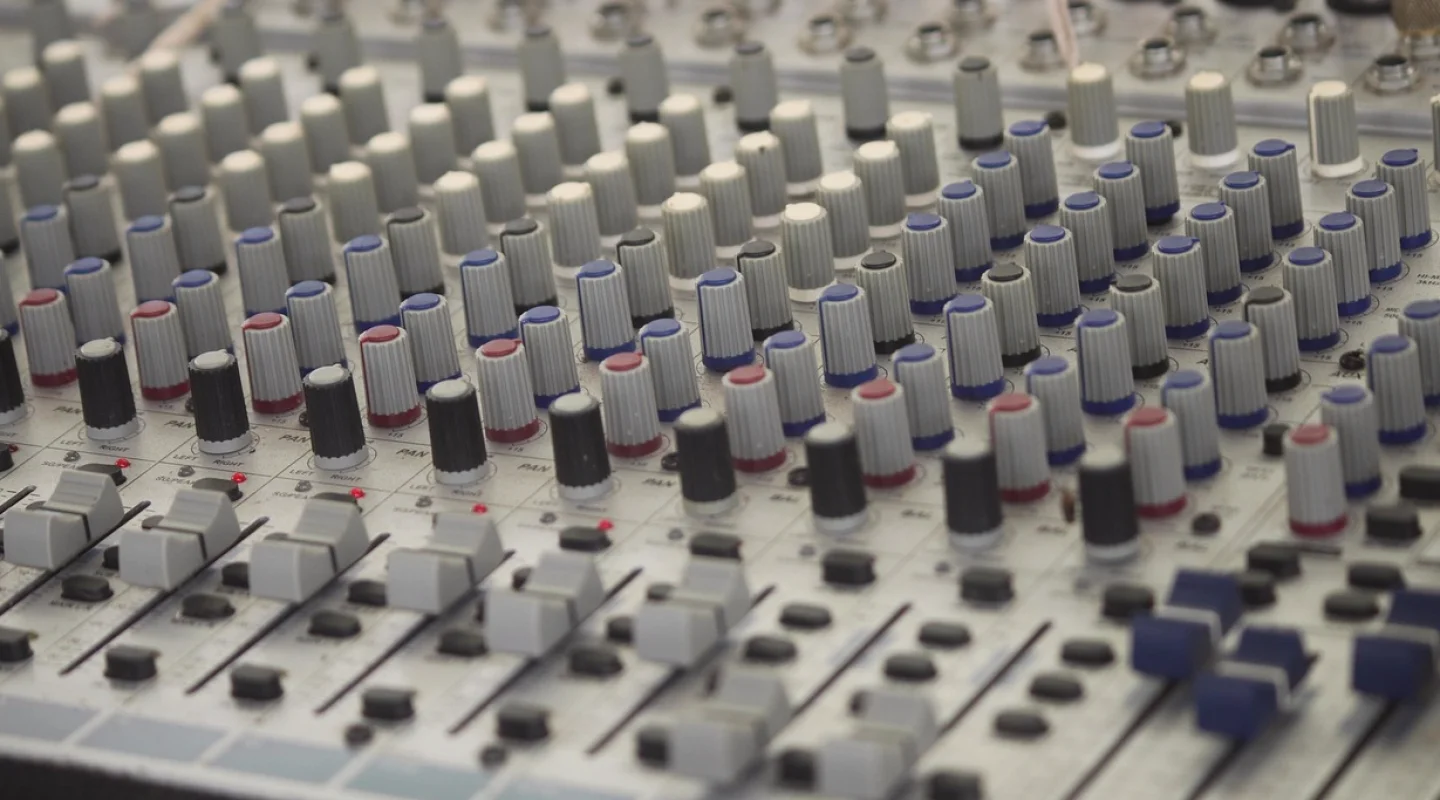
On a mixing console, the gain control sits at the top of each channel strip, usually a rotary knob next to the input socket. Its job is to bring a weak microphone signal up to a healthy working level. The fader, further down, then decides how much of that channel goes into the mix. One is about preparing the signal; the other is about balance.
A common habit is to leave the gain low and compensate by pushing the fader high. The mix may sound loud enough, but the channel is now carrying a weak signal that has been amplified late, so any hiss from the preamp or cabling is lifted along with the voice. Setting gain properly means the fader can sit near its normal working position, with room to move either way when the performance changes.
- Gain prepares the signal at the input
- The fader balances it against other channels
- Fixing a quiet channel with the fader alone raises noise too
Headroom: the space you leave on purpose
Headroom is the gap between the level your signal normally reaches and the point where it distorts. Think of it as the clearance above a lorry in a low tunnel. A speaker who talks quietly in rehearsal and shouts into the microphone during the show will use up that clearance in a second, and the result is a harsh crackle that cannot be removed afterwards.
In digital consoles the top of the meter is a hard ceiling, and anything above it is simply lost. In analogue equipment the distortion is softer but still unpleasant. Either way, I aim to leave a comfortable margin, so that a sudden loud moment passes through cleanly. This matters most for live events, where there is no chance to record the take again if a peak has clipped.
Setting gain at sound check, step by step
The method is the same for a vocal, a guitar or a drum, though the numbers differ. Ask the performer to play or speak at the loudest level they will actually use in the show, not a polite version of it. While they do, watch the channel meter and raise the gain until the peaks reach a healthy mark, well short of the clip light. Then bring the fader to its normal position and judge the sound in the room.
Do this with the fader down and the monitors quiet, so that feedback does not tempt you into turning things down for the wrong reason. If a performer changes how hard they sing between sound check and the show, as people often do once an audience arrives, be ready to trim the gain slightly rather than chase the problem with the fader.
- Ask for the loudest realistic performance level
- Raise gain until peaks sit comfortably below the clip light
- Set the fader afterwards and judge the sound in the room
- Trim again if the performance changes with an audience present
Where it goes wrong at festivals and venues
Outdoor stages and shared venues add their own difficulties. Several acts may use the same console in one afternoon, each with a different microphone and a different way of performing. If the previous act left gains where they suited their own voices, the next band inherits settings that fit nobody. Resetting every channel at the changeover, rather than trusting the last setting, saves a lot of trouble.
Long cable runs, cold evening air and mains hum from nearby power can also affect what the preamp is asked to handle. A tidy gain structure does not remove those problems, but it gives you a clear signal to start from, so you can tell whether a fault comes from the source, the cable or the console. That clarity is what helps a small crew solve a problem quickly mid-show.
A few habits worth keeping through the colder months
Late autumn brings more indoor events, more rooms with hard walls and more shows set up in a rush after an early evening load-in. Those are the conditions in which gain gets skipped. I keep a short routine: check each input is live, set gain with a real performance, look at the meters again once the room fills, and write down the settings if the console allows it to be saved.
None of this takes long, and all of it repays itself. A clean input stage means less equalisation to repair a muddy sound, less compression working to hide noise, and less stress when the headline act walks on. If the first stage of the chain is sound, the remaining decisions on the desk become much more about music and much less about damage control.
Gain structure is not a mystery, only a habit of giving every stage of the audio chain a sensible level to work with. Set the gain first, with a real performance, leave honest headroom, and let the fader do its own job of balance. The audience will never hear the work you did at the top of the channel, which is exactly how it should be: a clean mix that simply sounds natural.